Hey there! As a supplier of Floating Ball Valves, I've been getting a lot of questions lately about how to adjust the pre - load of a floating ball valve's sealing components. So, I thought I'd put together this blog to share some tips and tricks on this topic.
First off, let's talk about why adjusting the pre - load of sealing components is so important. In a floating ball valve, the sealing components play a crucial role in preventing leakage. The pre - load is the initial force applied to these components when the valve is assembled. A proper pre - load ensures a tight seal, which in turn improves the valve's performance and longevity. If the pre - load is too low, there might be leakage. On the other hand, if it's too high, it can cause excessive wear on the sealing components and increase the operating torque of the valve.

Understanding the Sealing Components
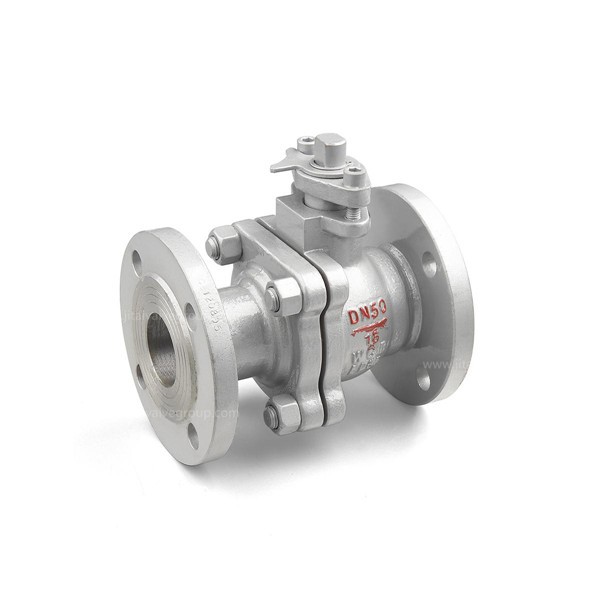
Before we dive into the adjustment process, it's essential to understand the main sealing components in a floating ball valve. There are typically two main types: the seat seals and the stem seals.
The seat seals are located around the ball and are responsible for sealing the valve when it's closed. They are usually made of materials like PTFE (Polytetrafluoroethylene) or other elastomers. The stem seals, on the other hand, prevent leakage along the valve stem. They can be made of various materials depending on the application, such as graphite or rubber.
Tools You'll Need
To adjust the pre - load of the sealing components, you'll need a few basic tools. These include a torque wrench, which is used to apply the correct amount of force when tightening bolts or nuts. A feeler gauge can also come in handy to measure the clearance between components. And of course, a set of wrenches to loosen and tighten the relevant parts of the valve.
Step - by - Step Adjustment Process
1. Preparation
Before you start making any adjustments, make sure the valve is completely shut off and isolated from the system. This means turning off the flow of the fluid and relieving any pressure in the pipeline. It's also a good idea to wear safety gear, like gloves and safety glasses, to protect yourself during the process.
2. Accessing the Sealing Components
Depending on the design of the valve, you may need to remove some covers or access panels to get to the sealing components. Use your wrenches to carefully remove any bolts or nuts holding these parts in place. Keep track of all the parts you remove, as you'll need to put them back correctly later.
3. Checking the Initial Pre - load
Use the torque wrench to check the current tightness of the bolts or nuts that apply the pre - load to the sealing components. Compare the readings with the manufacturer's specifications. If the torque is too low or too high, you'll need to make adjustments.
4. Adjusting the Seat Seals
To adjust the pre - load of the seat seals, you'll typically need to tighten or loosen the bolts that hold the seat rings in place. If the valve is leaking, you may need to increase the pre - load by tightening the bolts. Use the torque wrench to apply the correct amount of force, following the manufacturer's recommended torque values. As you tighten the bolts, use a feeler gauge to check the clearance between the ball and the seat seals. You want to make sure there's just the right amount of contact to create a good seal without causing excessive friction.
5. Adjusting the Stem Seals
The stem seals are usually adjusted by tightening or loosening the gland bolts. These bolts compress the packing material around the stem to create a seal. If you notice leakage around the stem, you can try tightening the gland bolts slightly. However, be careful not to over - tighten them, as this can cause the stem to bind and make the valve difficult to operate. Again, use the torque wrench to apply the correct amount of force.
6. Reassembling the Valve
Once you've made the necessary adjustments, carefully reassemble the valve. Make sure all the parts are properly aligned and tightened to the correct torque values. Double - check that all the covers and access panels are securely in place.
Testing the Valve
After reassembling the valve, it's time to test it. Slowly open the valve and check for any signs of leakage. Monitor the operating torque of the valve as well. If it's too difficult to turn the valve, it could mean that the pre - load is too high. On the other hand, if there's still leakage, you may need to go back and make further adjustments.
Different Types of Floating Ball Valves
At our company, we offer a wide range of floating ball valves to suit different applications. For example, if you're working in the chemical industry, you might be interested in our Chemical Floating Ball Valves. These valves are designed to withstand the harsh chemicals and corrosive environments commonly found in chemical processing plants.
If you need a valve that can be operated remotely, our Pneumatic Floating Ball Valves are a great option. They can be easily controlled using compressed air, making them ideal for automated systems.
And for applications where you need a strong and durable valve, our Carbon Steel Floating Ball Valves are a reliable choice. Carbon steel is known for its high strength and resistance to wear, making these valves suitable for a variety of industrial settings.
Conclusion
Adjusting the pre - load of a floating ball valve's sealing components is a crucial task that can significantly impact the valve's performance and reliability. By following the steps outlined in this blog and using the right tools, you can ensure that your valve is properly adjusted and functioning at its best.
If you have any questions about our floating ball valves or need further assistance with pre - load adjustment, don't hesitate to reach out. We're here to help you find the right valve for your application and ensure that it's installed and maintained correctly.
References
- "Valve Handbook" by Valve Manufacturers Association
- Technical documentation provided by floating ball valve manufacturers