Hey there! I'm [Your Name], and I work for a check valves supplier. Today, I'm gonna walk you through the process of replacing a check valve. Whether you're a DIY enthusiast or a professional plumber, this guide will give you the lowdown on how to get the job done right.
Why Replace a Check Valve?
First off, let's talk about why you might need to replace a check valve. Check valves are crucial components in many plumbing and industrial systems. They allow fluid to flow in one direction only, preventing backflow. Over time, these valves can wear out, get clogged, or develop leaks. When that happens, it can lead to all sorts of problems, like reduced system efficiency, water hammer, or even damage to other parts of the system. So, if you notice any of these issues, it's probably time to replace the check valve.
Tools and Materials You'll Need
Before you start, make sure you have all the necessary tools and materials on hand. Here's a list of what you'll typically need:
- Adjustable wrench or socket set: To remove and install the valve.
- Pipe cutter or hacksaw: If you need to cut the pipe to remove the old valve.
- Teflon tape or pipe joint compound: To seal the connections.
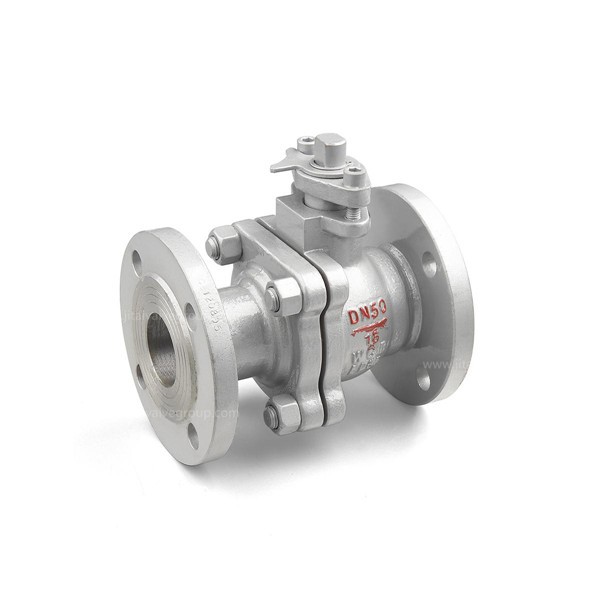
- New check valve: Make sure it's the right size and type for your application. You can check out our Chemical Floating Ball Valves, Wafer High Performance Butterfly Valves, and Carbon Steel Floating Ball Valves for some great options.
- Safety glasses and gloves: To protect yourself from any debris or sharp edges.
Step-by-Step Guide to Replacing a Check Valve
Step 1: Turn Off the Power and Water Supply
The first thing you need to do is turn off the power and water supply to the system. This will prevent any accidents or damage while you're working. If you're working on a gas system, make sure to follow the proper safety procedures for shutting off the gas supply.
Step 2: Drain the System
Once the power and water supply are off, you need to drain the system. This will reduce the pressure and prevent any water from spilling out when you remove the valve. Open the nearest faucet or drain valve to let the water out.

Step 3: Locate the Check Valve
Next, you need to locate the check valve. It's usually located in the pipeline where the fluid is flowing. Check the system diagram or consult the manufacturer's instructions if you're not sure where it is.
Step 4: Remove the Old Check Valve
Use the adjustable wrench or socket set to loosen and remove the nuts or bolts that hold the valve in place. If the valve is soldered or welded to the pipe, you'll need to use a pipe cutter or hacksaw to cut the pipe on either side of the valve. Be careful not to damage the surrounding pipes or other components.
Step 5: Clean the Pipe Ends
Once the old valve is removed, use a wire brush or sandpaper to clean the pipe ends. This will remove any rust, debris, or old sealant. Make sure the pipe ends are smooth and clean before installing the new valve.
Step 6: Apply Sealant
Apply a thin layer of Teflon tape or pipe joint compound to the male threads of the pipe ends. This will create a tight seal and prevent any leaks. Make sure to wrap the tape in the direction of the threads and avoid getting any tape inside the pipe.
Step 7: Install the New Check Valve
Carefully insert the new check valve into the pipe ends. Make sure the valve is facing the correct direction, as indicated by the arrow on the valve body. Use the adjustable wrench or socket set to tighten the nuts or bolts that hold the valve in place. Don't over-tighten the connections, as this can damage the valve or the pipes.
Step 8: Reconnect the System
Once the new valve is installed, reconnect the system. Turn on the water supply and check for any leaks. If you find any leaks, tighten the connections or apply more sealant as needed.
Step 9: Test the System
After reconnecting the system, test it to make sure the check valve is working properly. Turn on the power and let the system run for a few minutes. Check for any unusual noises, vibrations, or leaks. If everything seems to be working fine, you're good to go!
Tips and Tricks
- Choose the right valve: Make sure the new check valve is the right size and type for your application. Consider factors like the flow rate, pressure, and temperature of the fluid.
- Follow the manufacturer's instructions: Read the manufacturer's instructions carefully before installing the valve. This will ensure that you're installing it correctly and safely.
- Use the right tools: Using the right tools will make the job easier and safer. Make sure you have all the necessary tools on hand before you start.
- Take your time: Replacing a check valve can be a tricky job, so take your time and do it right. Rushing through the process can lead to mistakes and problems down the road.
Conclusion
Replacing a check valve may seem like a daunting task, but it's actually not that difficult if you follow the right steps. By following this guide, you should be able to replace a check valve in no time. If you have any questions or need further assistance, don't hesitate to contact us. We're here to help you find the right check valve for your application and provide you with the support you need.
If you're interested in purchasing check valves or other industrial valves, feel free to get in touch with us for a quote. We offer a wide range of high-quality valves at competitive prices. Our team of experts can help you choose the right valve for your specific needs and ensure a smooth purchasing process.
References
- Plumbing and Piping Systems Handbook
- Valve Installation and Maintenance Guide


